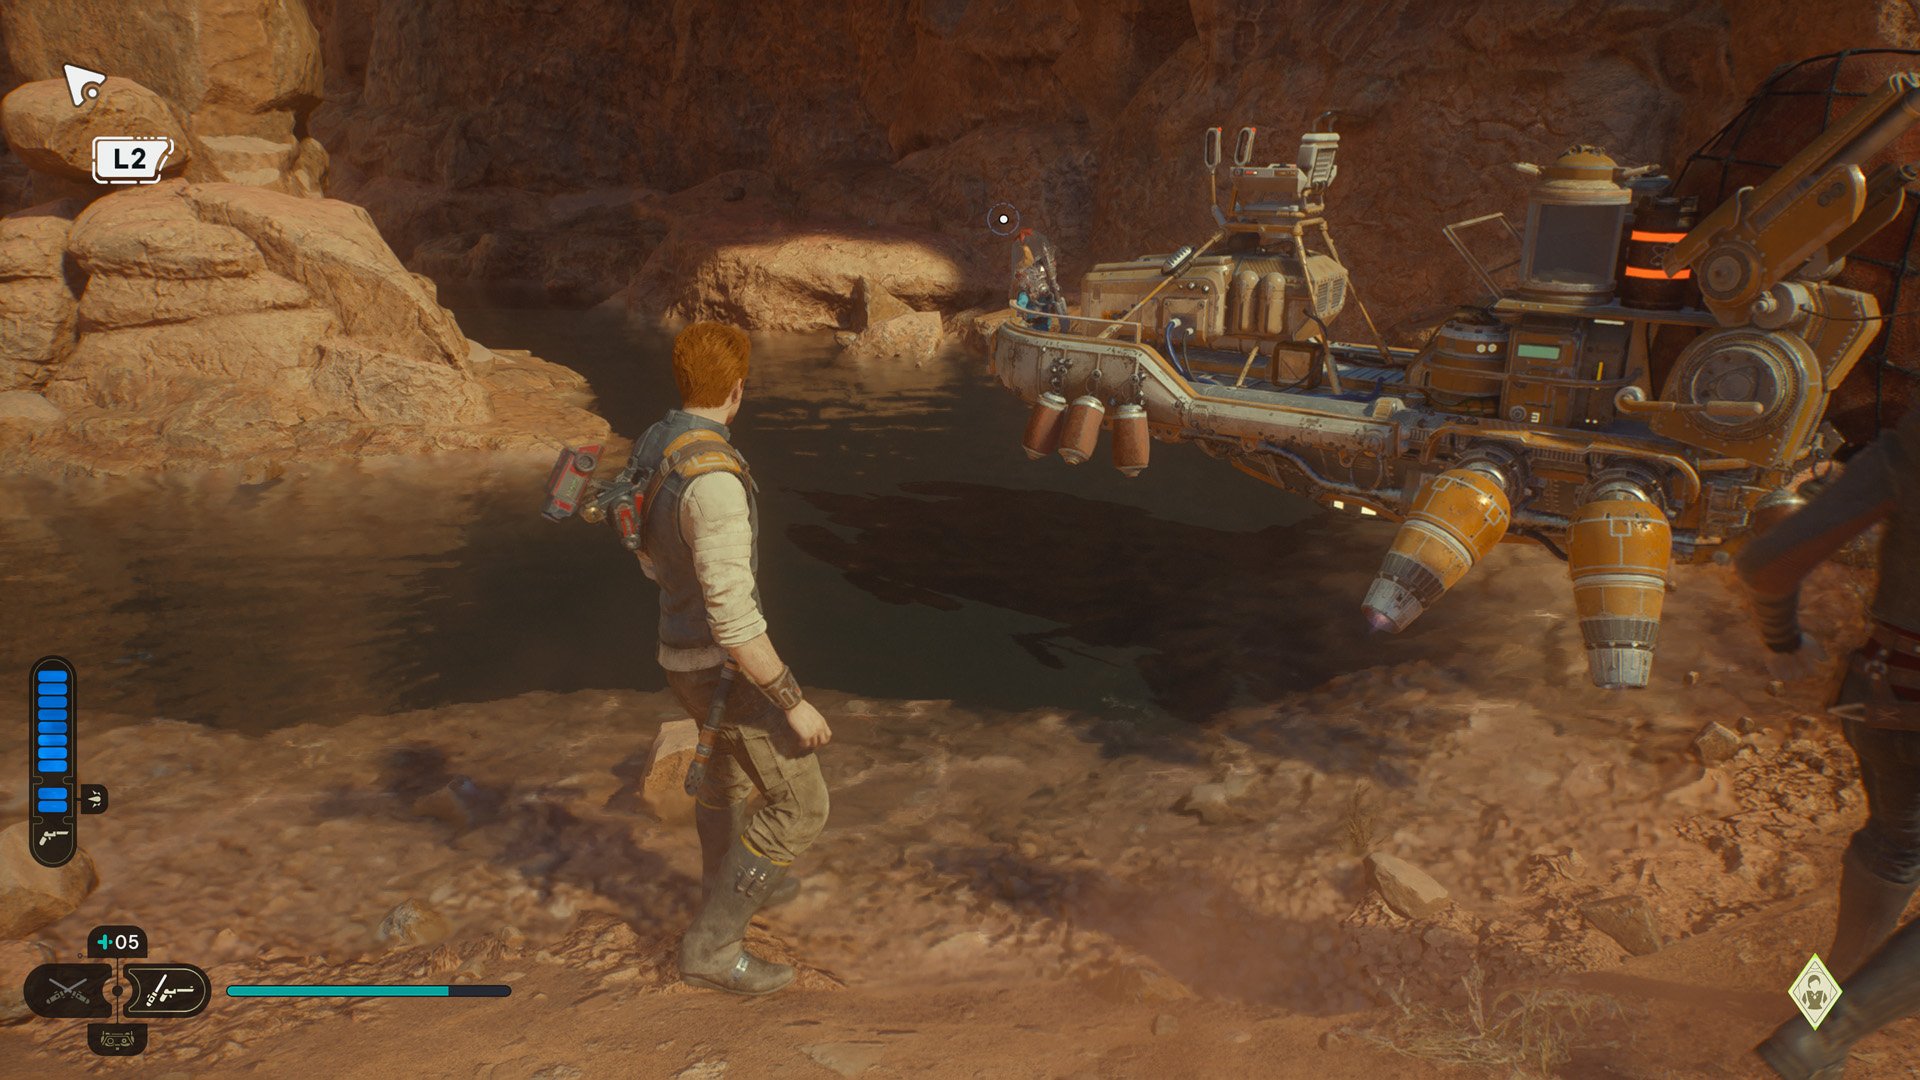
Star Wars Jedi: Survivor Fish Guide: Locations and the Skoova Diving Trophy
Fishing in some form or another has become a staple of RPGs the world over and Star Wars Jedi: Survivor is no exception. Instead of pulling out a fishing rod and dipping your hook in directly, however, fishing comes by way of one of the key NPCs you’ll meet along the way – Skoova Stev. You can find Skoova hanging around various pools of water throughout the game – most notably on the way up the Foothill Falls, as an example, or over by the abandoned shack if you happen to be following that Rumor. Here’s where you can catch all of Skoova’s fish.
If you’re interested in Star Wars Jedi: Survivor – we’ve got a full review for you. We’ve also got you covered on all of Cal and BD-1’s Abilities, the location of every Jedi Chamber, and where to collect all of the bounty pucks.

All Star Wars Jedi Survivor Fish Locations
Once you find Skoova, you’ll learn what a nice guy he is – not only will he fish for you but you’ll get a little bit of lore and you can keep pressing for each part of his own thrilling tales each time you encounter him. What’s more is you can then recruit Skoova to make a home for himself over at the Pyloon’s Saloon. There he’ll help you manage the aquarium, so it’s especially important to get searching for all his fish.
There’s a total of 12 fish to be found, so let’s get to it.
Jedi Survivor Fish Locations on Koboh
- Barbed Hookfish – Smuggler’s Tunnels, Level C.
- Skoova should be hanging out around the big pool of water not far from the Meditation Point.
- Viscid Lurker – Phon’qi Caverns, Level C.
- Find Skoova near the southern part of the tunnels.
- Fingerlip Garpon – Rambler’s Reach outpost, Level B.
- You’ll find Skoova in the water near the stables, talk with him to grab the Fingerlip Garpon.
- Big-Mouth Faa – Rift Passage, Level B.
- You’ll see Skoova on your way up to the Rift Passage (or down from it if you’ve come from later in the story). He’s right next to a small, square pool before you enter the Passage chamber.
- Blinding Rayfish – Koboh Stone Spires, Devastated Settlement, Level B.
- After getting the second device on Koboh in the Volcano area, walk back out to the meditation point. Facing the stairs, you’ll see a pool with Skoova next to it, and he’ll grab the Blinding Rayfish here.
- Blue-Finned Crayfish – Bygone Settlement, Level B.
- Take the Nekko Pools Meditation Point and go up the path while riding a nekko. You’ll find Skoova at the heated pools right as you enter the Bygone Settlement.
- See Fish – Foothill Falls, Level B.
- You’ll find Skoova next to a big pool with a grappling tag on your way up the Foothill Falls.
- Mee Fish –
- Past where you found Scoova fishing for See Fish – you’ll head further back in the Canyon until you reach green force fields. The first one you can bypass by mind tricking the guards (and unlock BD-1’s Slice for Security Droids), but you’ll need the Dash ability to go further. Once you can do that, you’ll find Skoova just beyond that. Jump over to get to Skoova and the Mee fish.
- Glottsamcrab –
- In the Swamps of Koboh, around the area you’ll land at the entrance of the zone, and where you can recruit Zygg. Skoova will be right there, looking to catch this muck-dweller.
- Frilled Newt –
- Head all the way back to the Gorge Crash Site from where you first landed on Koboh. If you take the Meditation Point, Skoova can be found in the water to the west. You can’t miss him.
Jedi Survivor Fish Locations on Jedha
- Snakefish – Arid Flats, Level A.
- Head right out of Cere’s Base towards the Meditation Point right outside, then head towards the right to find Skoova diving for Snakefish.
- Fantailed Laa –
- Across from the Crypt of Uhrma Meditation Point, you’ll see Skoova across the ravine. To get to him, you’ll have to proceed further and complete the Crypt of Uhrma Puzzle to access a stim and Skoova, as well as the zipline.
Unlocking the Star Wars Jedi Survivor Skoova Diving Achievement / Trophy
After gathering all 12 fish, the game will reward you with the Skoova Diving trophy/achievement – which means you’ve filled the aquarium in the cantina. It’s a bit of a long-haul to find all of them but hopefully this guide makes things a little less time consuming.
Source: MakeUseOf